Running a Minecraft server on Heroku
You only need one file with one line of text to run a Minecraft server on Heroku with my Minecraft buildpack. It solves all the problems associated with the use of TCP and Heroku’s ephemeral filesystem.
Create a new directory and add a eula.txt file with the following
contents:
eula=trueNow initialize a Git repository and commit the file to it:
$ git init
$ git add eula.txt
$ git commit -m "First commit"
Then install the Heroku toolbelt and create a new app using my Minecraft buildpack:
$ heroku create --buildpack https://github.com/jkutner/heroku-buildpack-minecraftIn order to access the server, you’ll need a free ngrok account. After creating an account, copy your auth token, and set it as a configuration variable like this (replacing “xxx” with your token):
$ heroku config:set NGROK_API_TOKEN="xxx"Now deploy your project:
$ git push heroku masterYou will see a few dependencies install, and finally Minecraft it self being installed. When the deployment process is complete, run the following command to open a browser:
$ heroku openIn the browser you’ll see the logs of ngrok. Look for a line like this:
[03/11/15 02:06:21] [INFO] [client] Tunnel established at tcp://ngrok.com:45010The value similar to ngrok.com:45010 is the server you’ll connect to with your
local Minecraft client.
You can check the status of the Minecraft server by inspect it’s logs with this command:
$ heroku logsOnce the server reports that up and running, like this:
[19:32:21] [Server thread/INFO]: Preparing spawn area: 96%
[19:32:21] [Server thread/INFO]: Done (9.816s)! For help, type "help" or "?"
Then you can connect to it. Open your local Minecraft app,
and select “Mutliplayer”. Then select “Direct Connect”, and in the text box
for server name enter the ngrok.com address you saw in your browser.
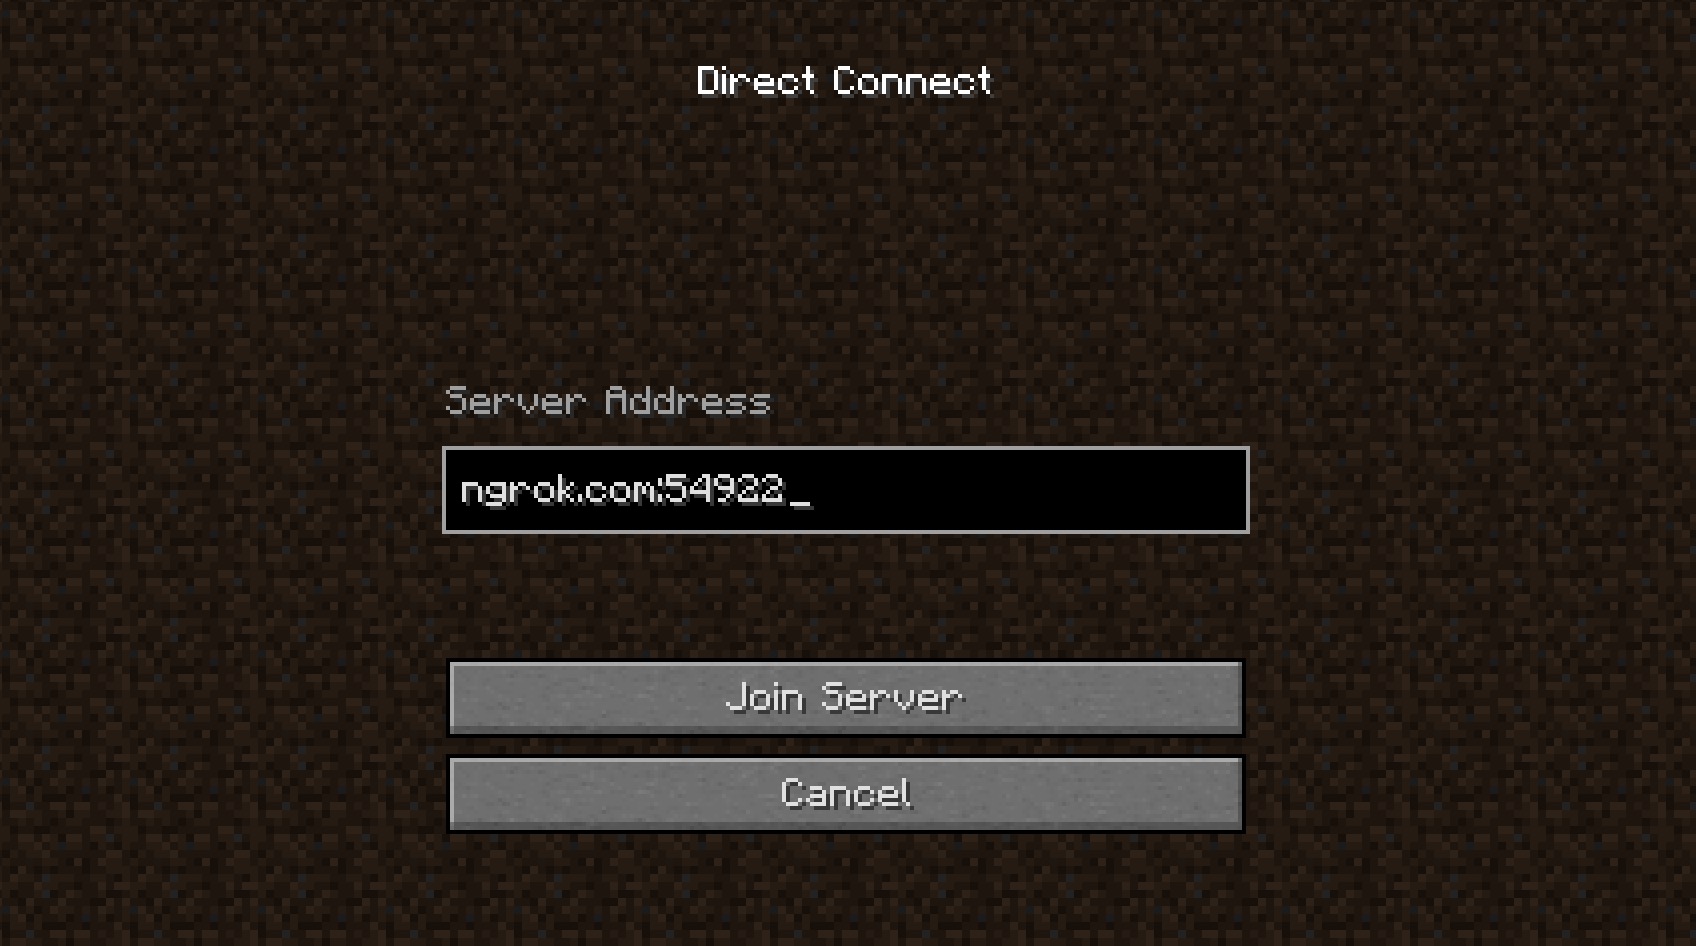
Click “Join Server” and you’re ready to play.
You can read more about how to configure and sync the Minecraft server’s data on the project’s Readme page.